Hello mommies! In this blog post, I’ll be sharing how I DIY bind my printables.
Materials that I use:
Printer
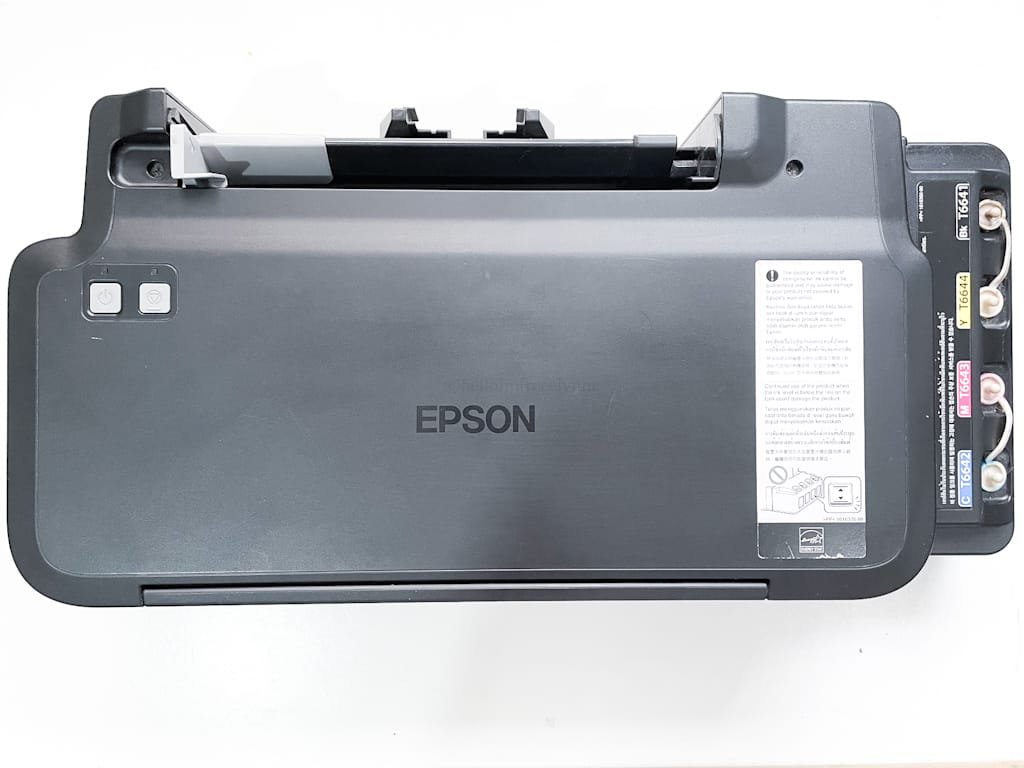
I am using Epson L120 Printer.
Click here for the Shopee Link
I used to hate this printer because I didn’t like its printout quality. Printouts are streaky, faded, have lines on them that should not be there. I am ready to replace this with new one but I found a trick on how to print better quality using this printer.
Paper
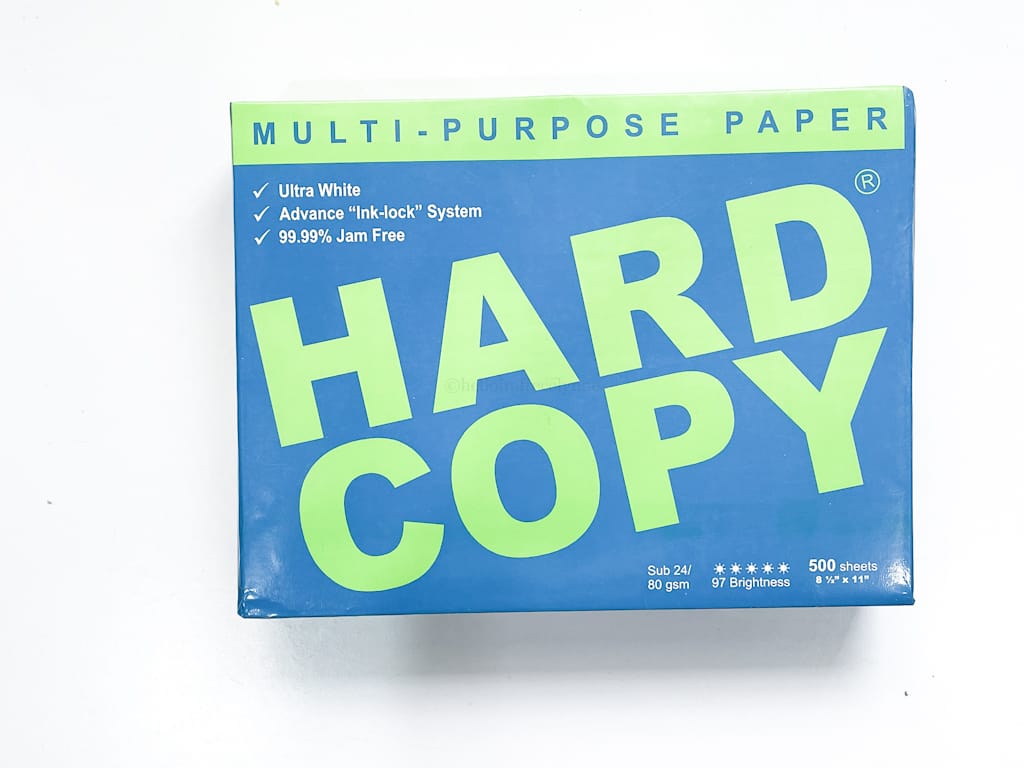
Hard Copy is my go-to brand for paper.
When buying paper, I always choose 80 gsm above because it’s thicker.
For the Cover
Option 1: Kraft folder or any type of folder
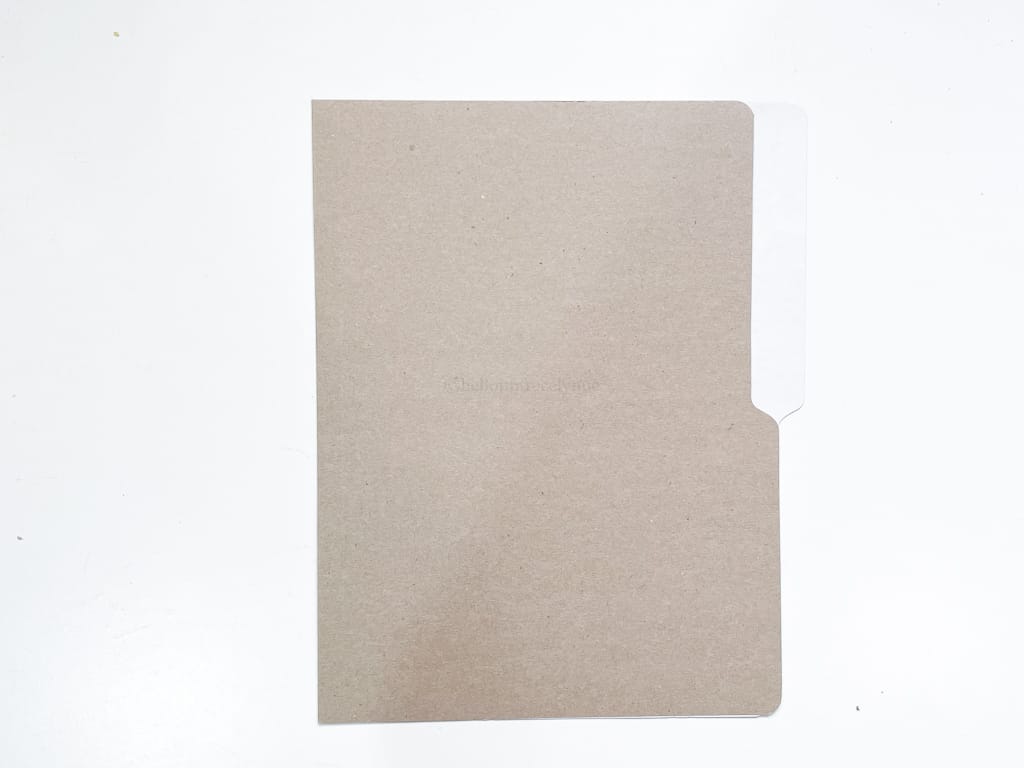
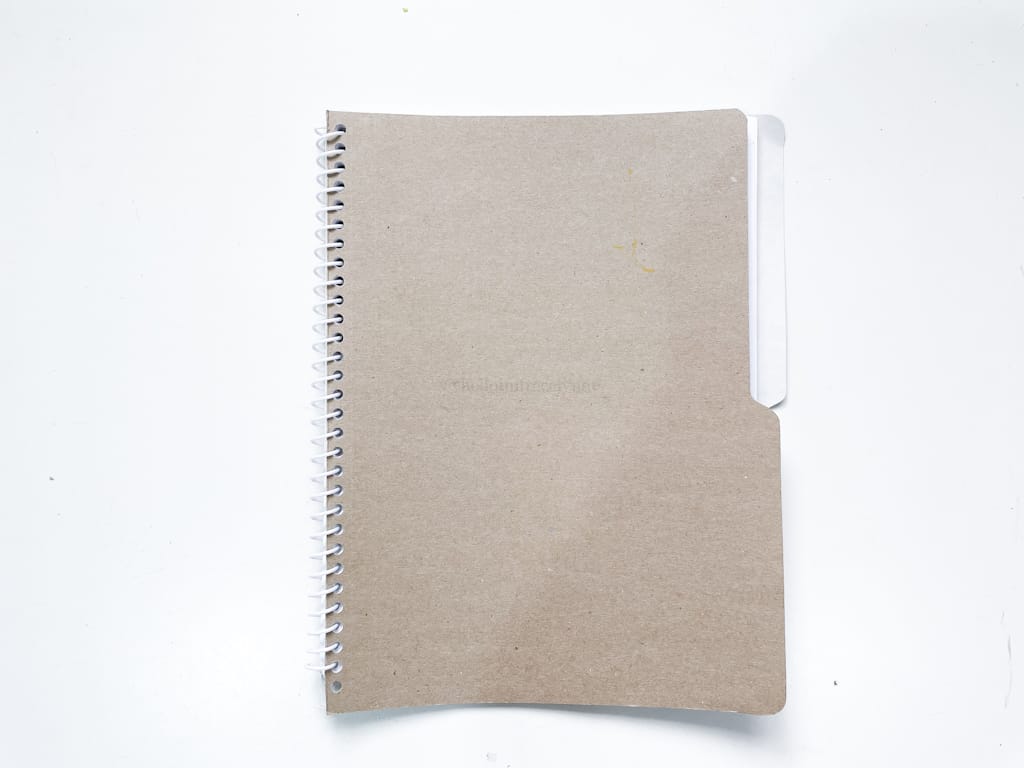
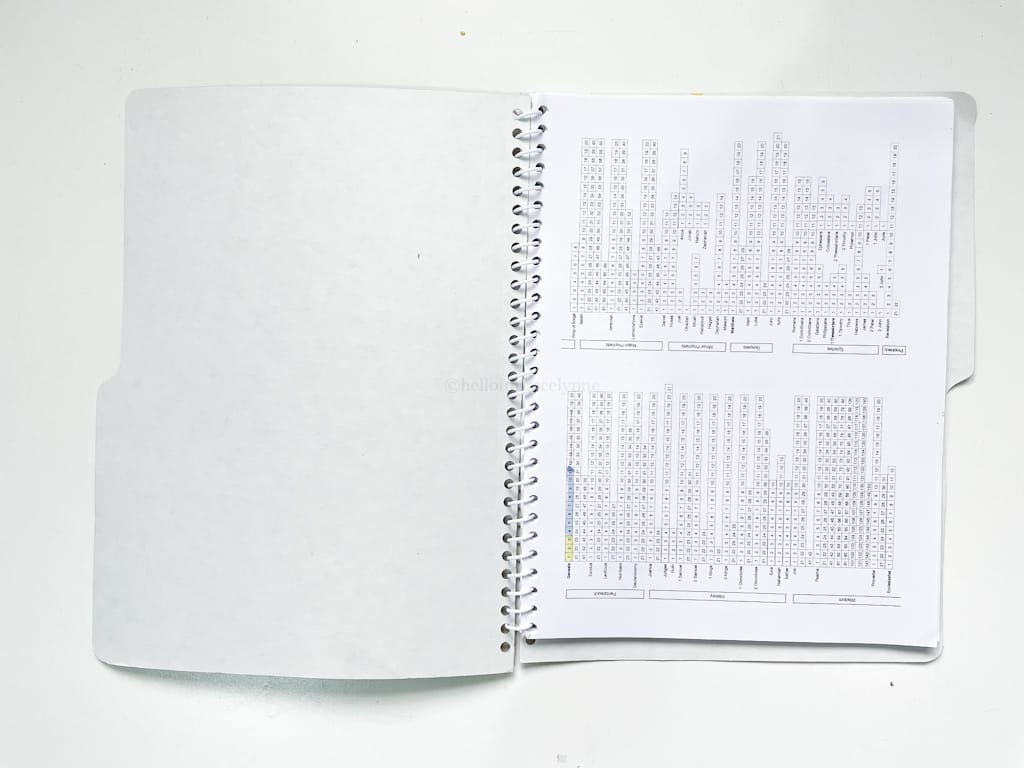
If I’m lazy and don’t want anything fancy, I just use folder as the cover.
Option 2: Laminated Paper
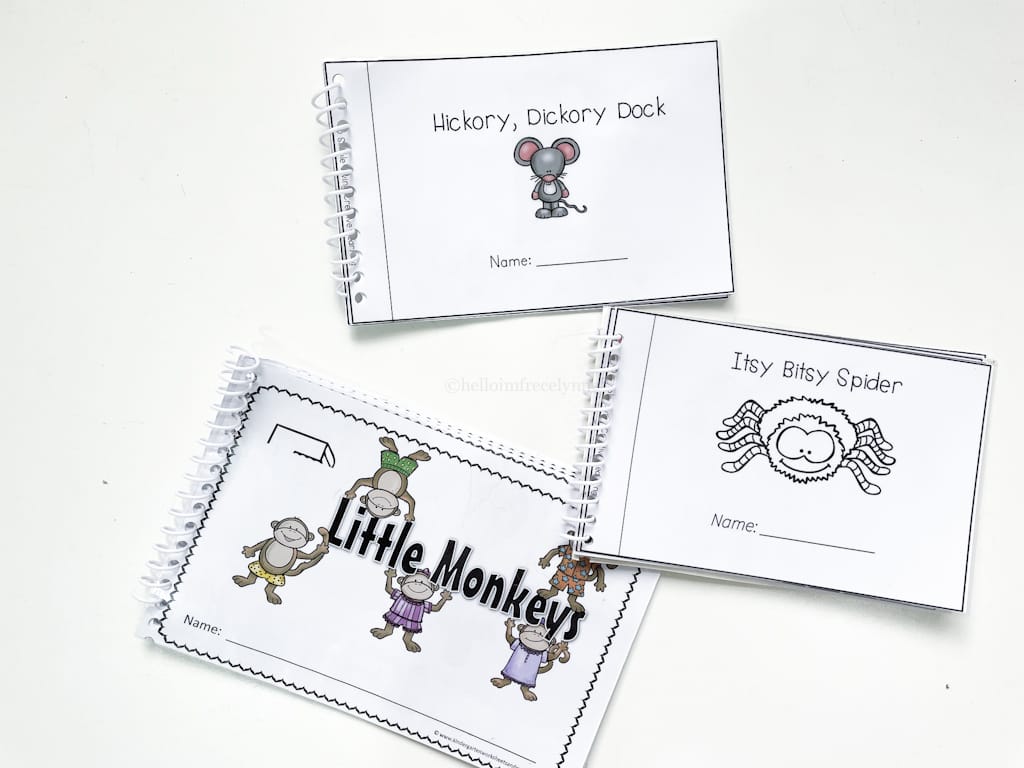
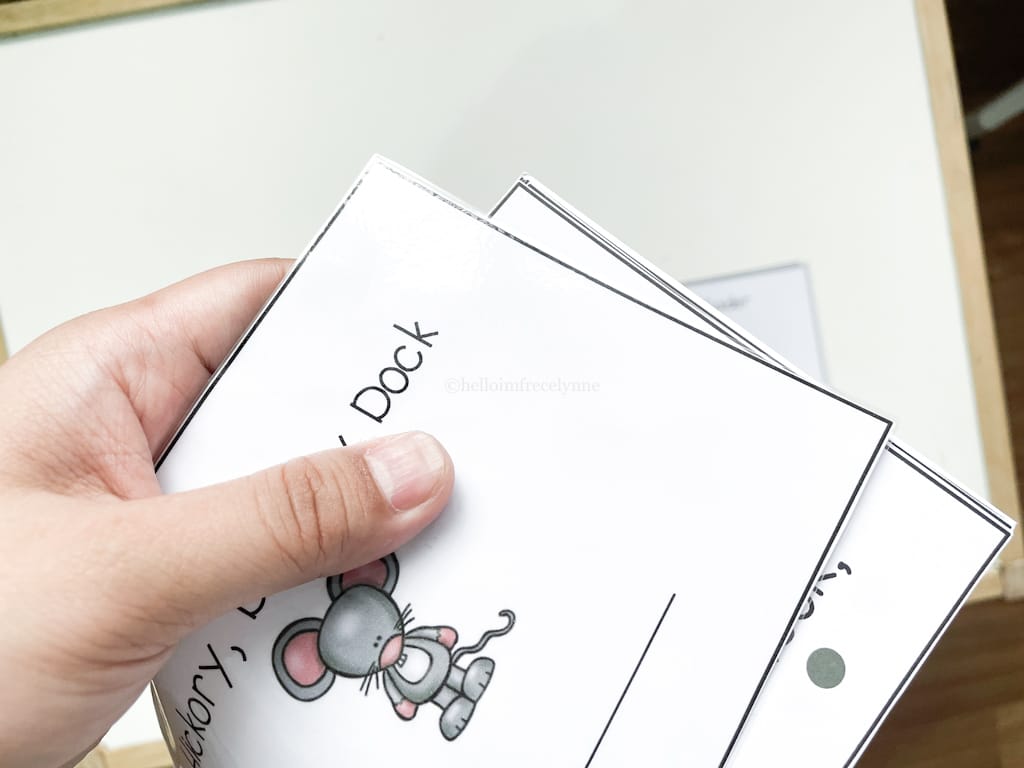
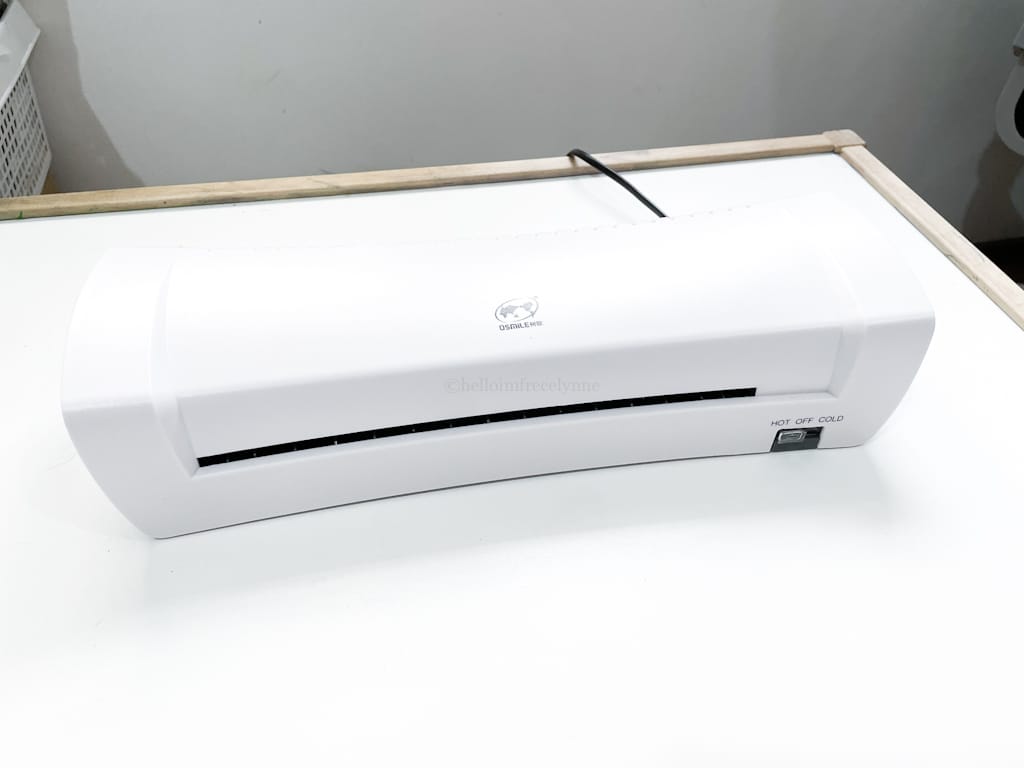
I only use this for Audrey’s mini-books.
Laminator
Click here for the Shopee Link
I am just using a basic unbranded laminator and it works well.
Laminating Sheets
Click here for the Shopee Link
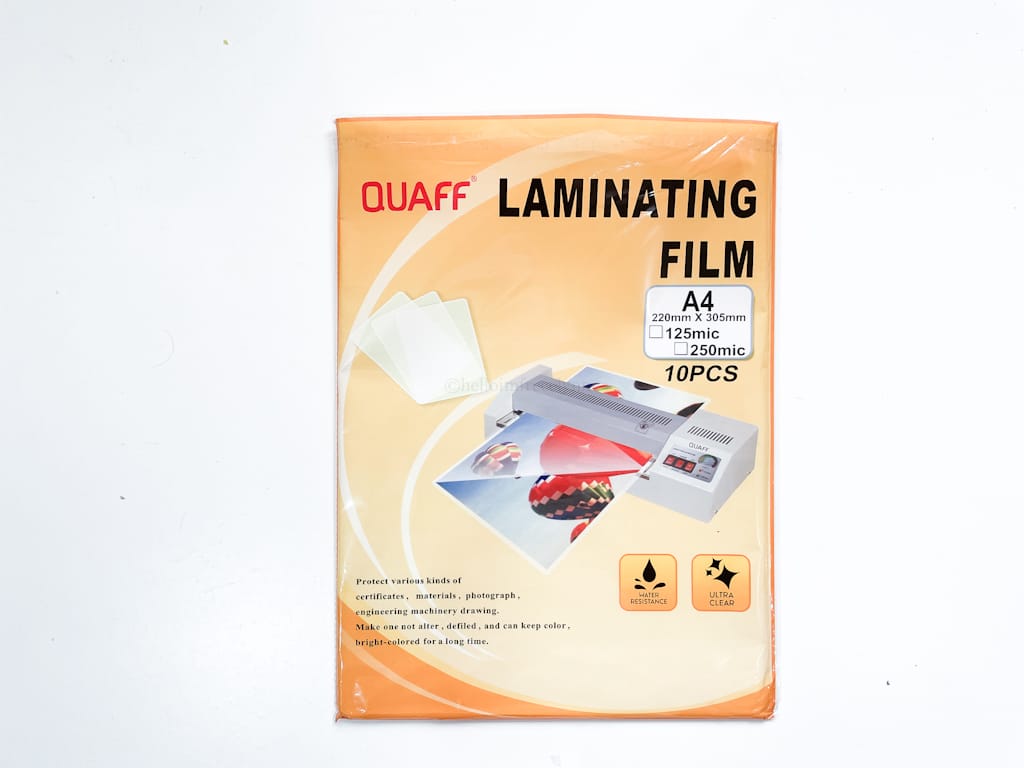
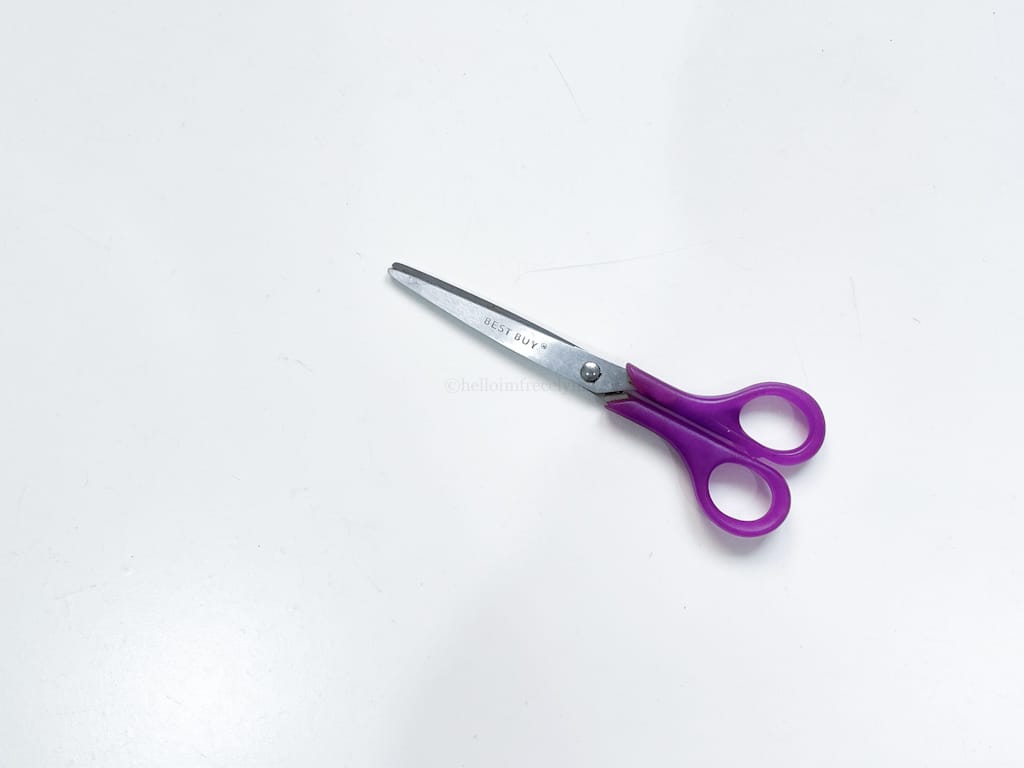
125 microns laminating sheets work well for me. However, this is in A4 size so I need to trim the paper a bit. I am using Letter size bond paper.
Option 2: Scissor
Binder
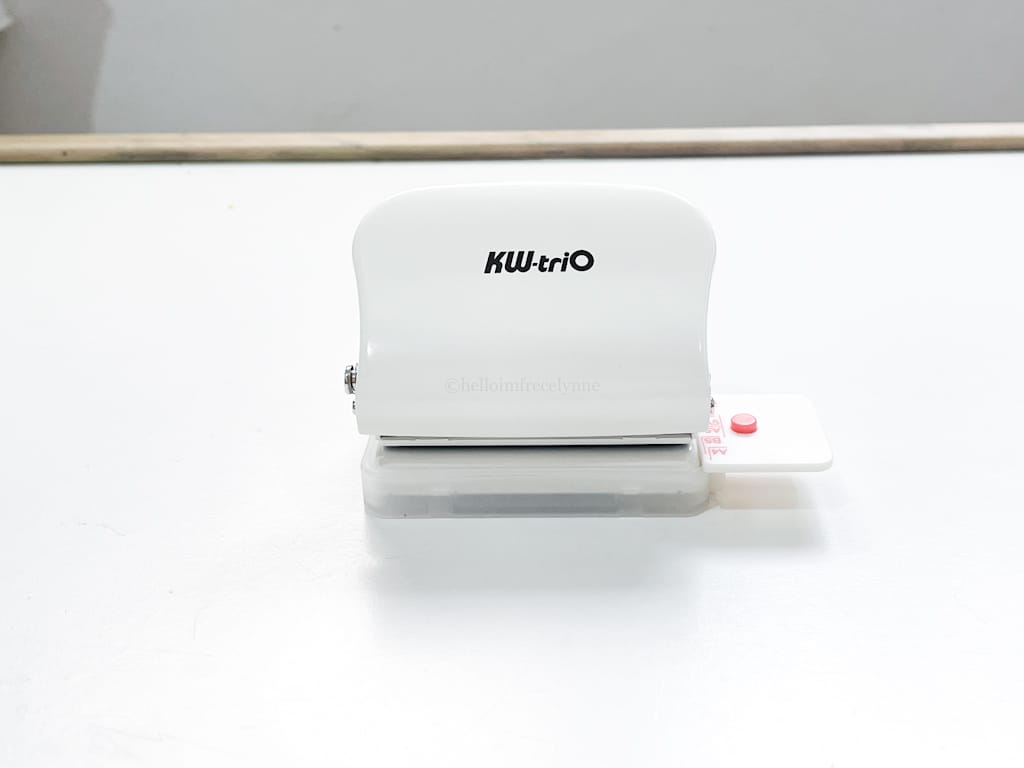
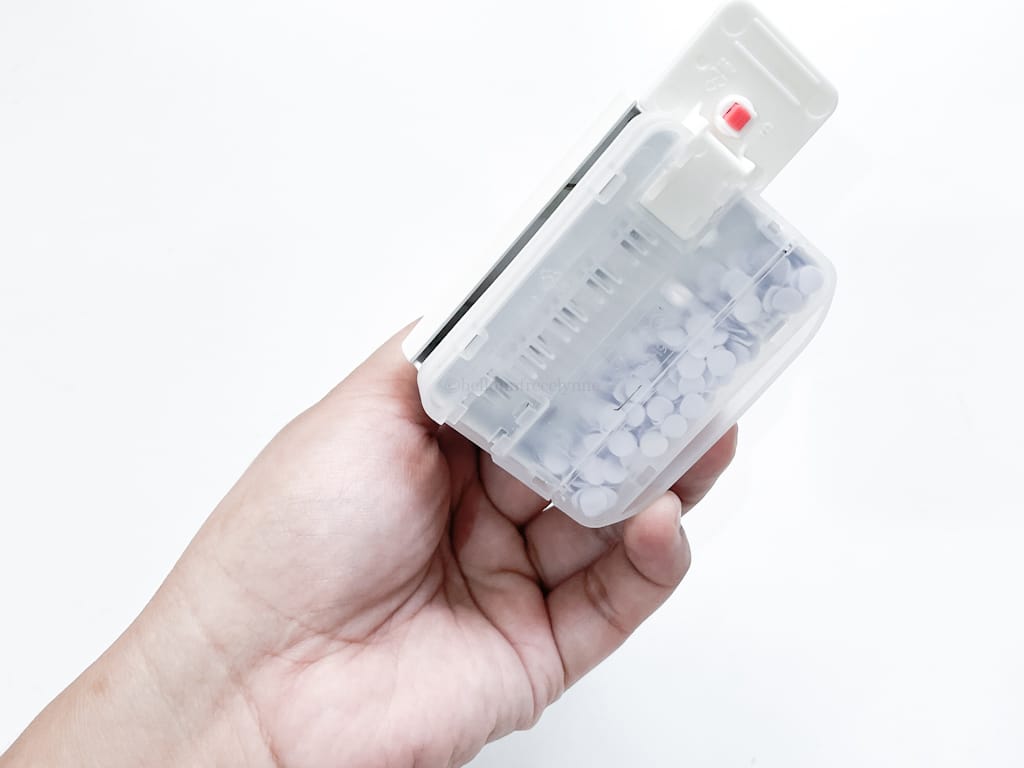
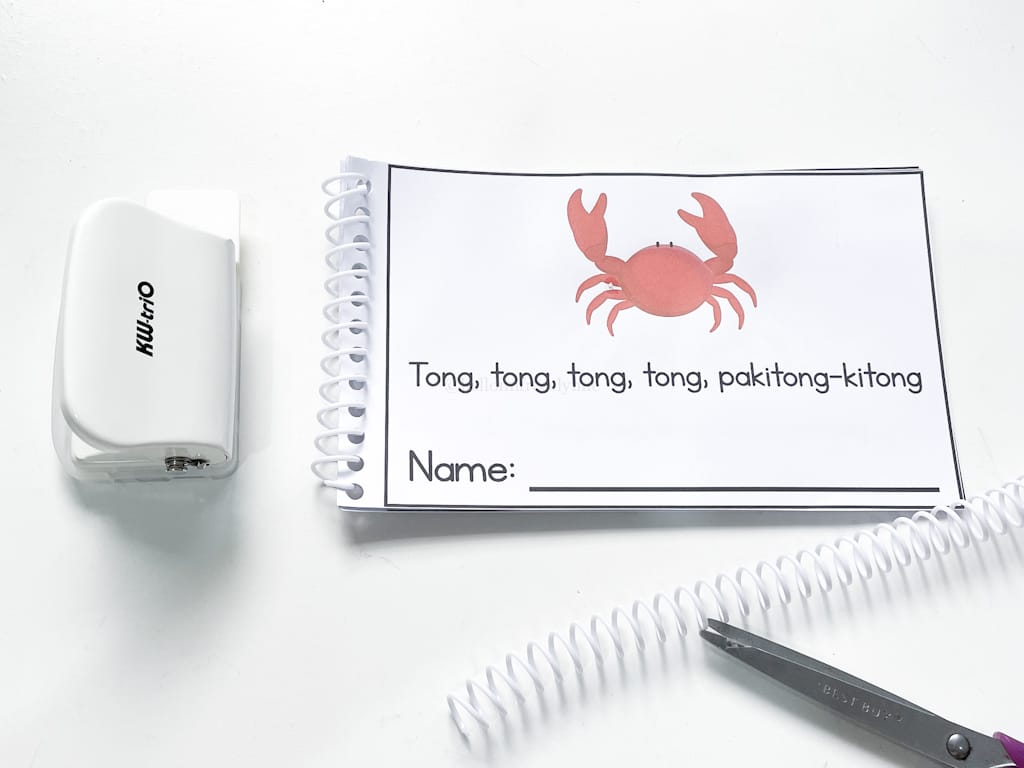
6 Hole Metal Puncher
Click here for the Shopee Link
This made my life easier! And this is an affordable option vs the bulky ring bind machine. It can punch up to 5 sheets for 80gsm papers.
Spiral Coil Binder
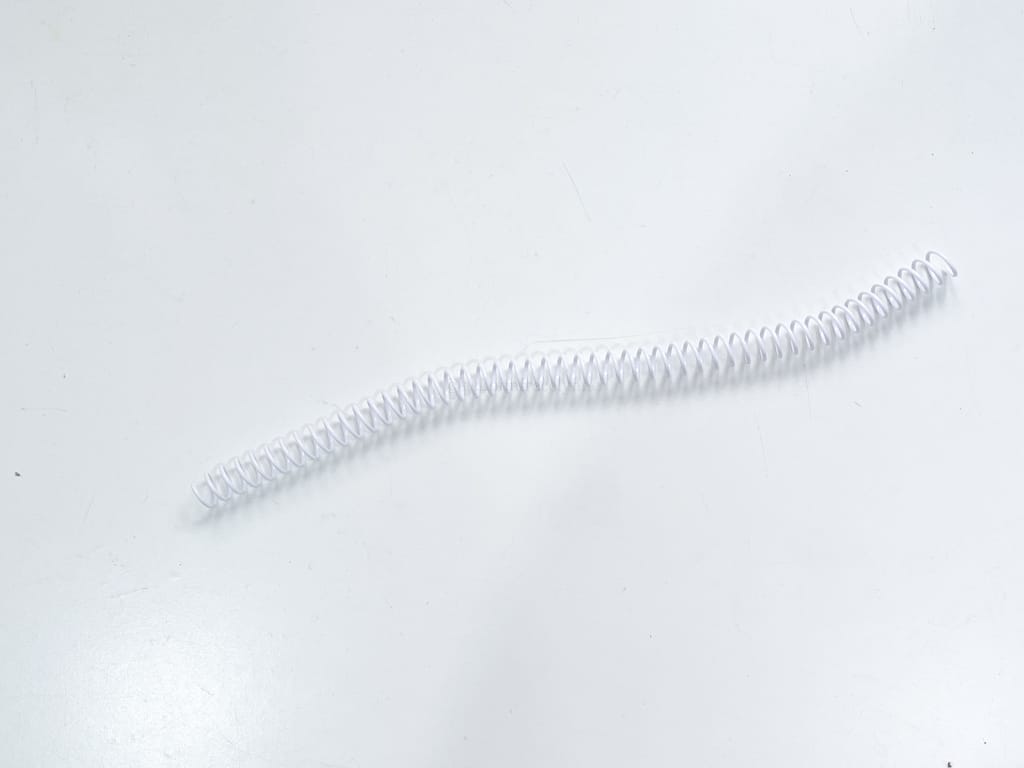
10mm Spiral Coil Binder
Click here for the Shopee Link
I choose the 10mm because I thought I’ll be printing a lot of thick worksheets. I should have chosen the 8mm.
Video Guide:
So that’s about it! I hope this has helped you. I would love to hear your thoughts, leave a comment below 🙂

Leave a Reply