A few years ago, I started a small handmade jewelry business called Embracelet. I worked with acrylic and glass beads at first, then slowly shifted to gemstones like jade, angelite, and sunstone. It was a good run and honestly, I’d say it was successful. But at some point, I paused to focus on other things.

This year, I found myself drawn back to crystals and jewelry-making again. But this time, I wanted to go deeper. I didn’t just want to string beads or work with brass. I wanted to learn fine jewelry techniques. That meant stepping up from stainless steel and copper to sterling silver, and eventually, gold.
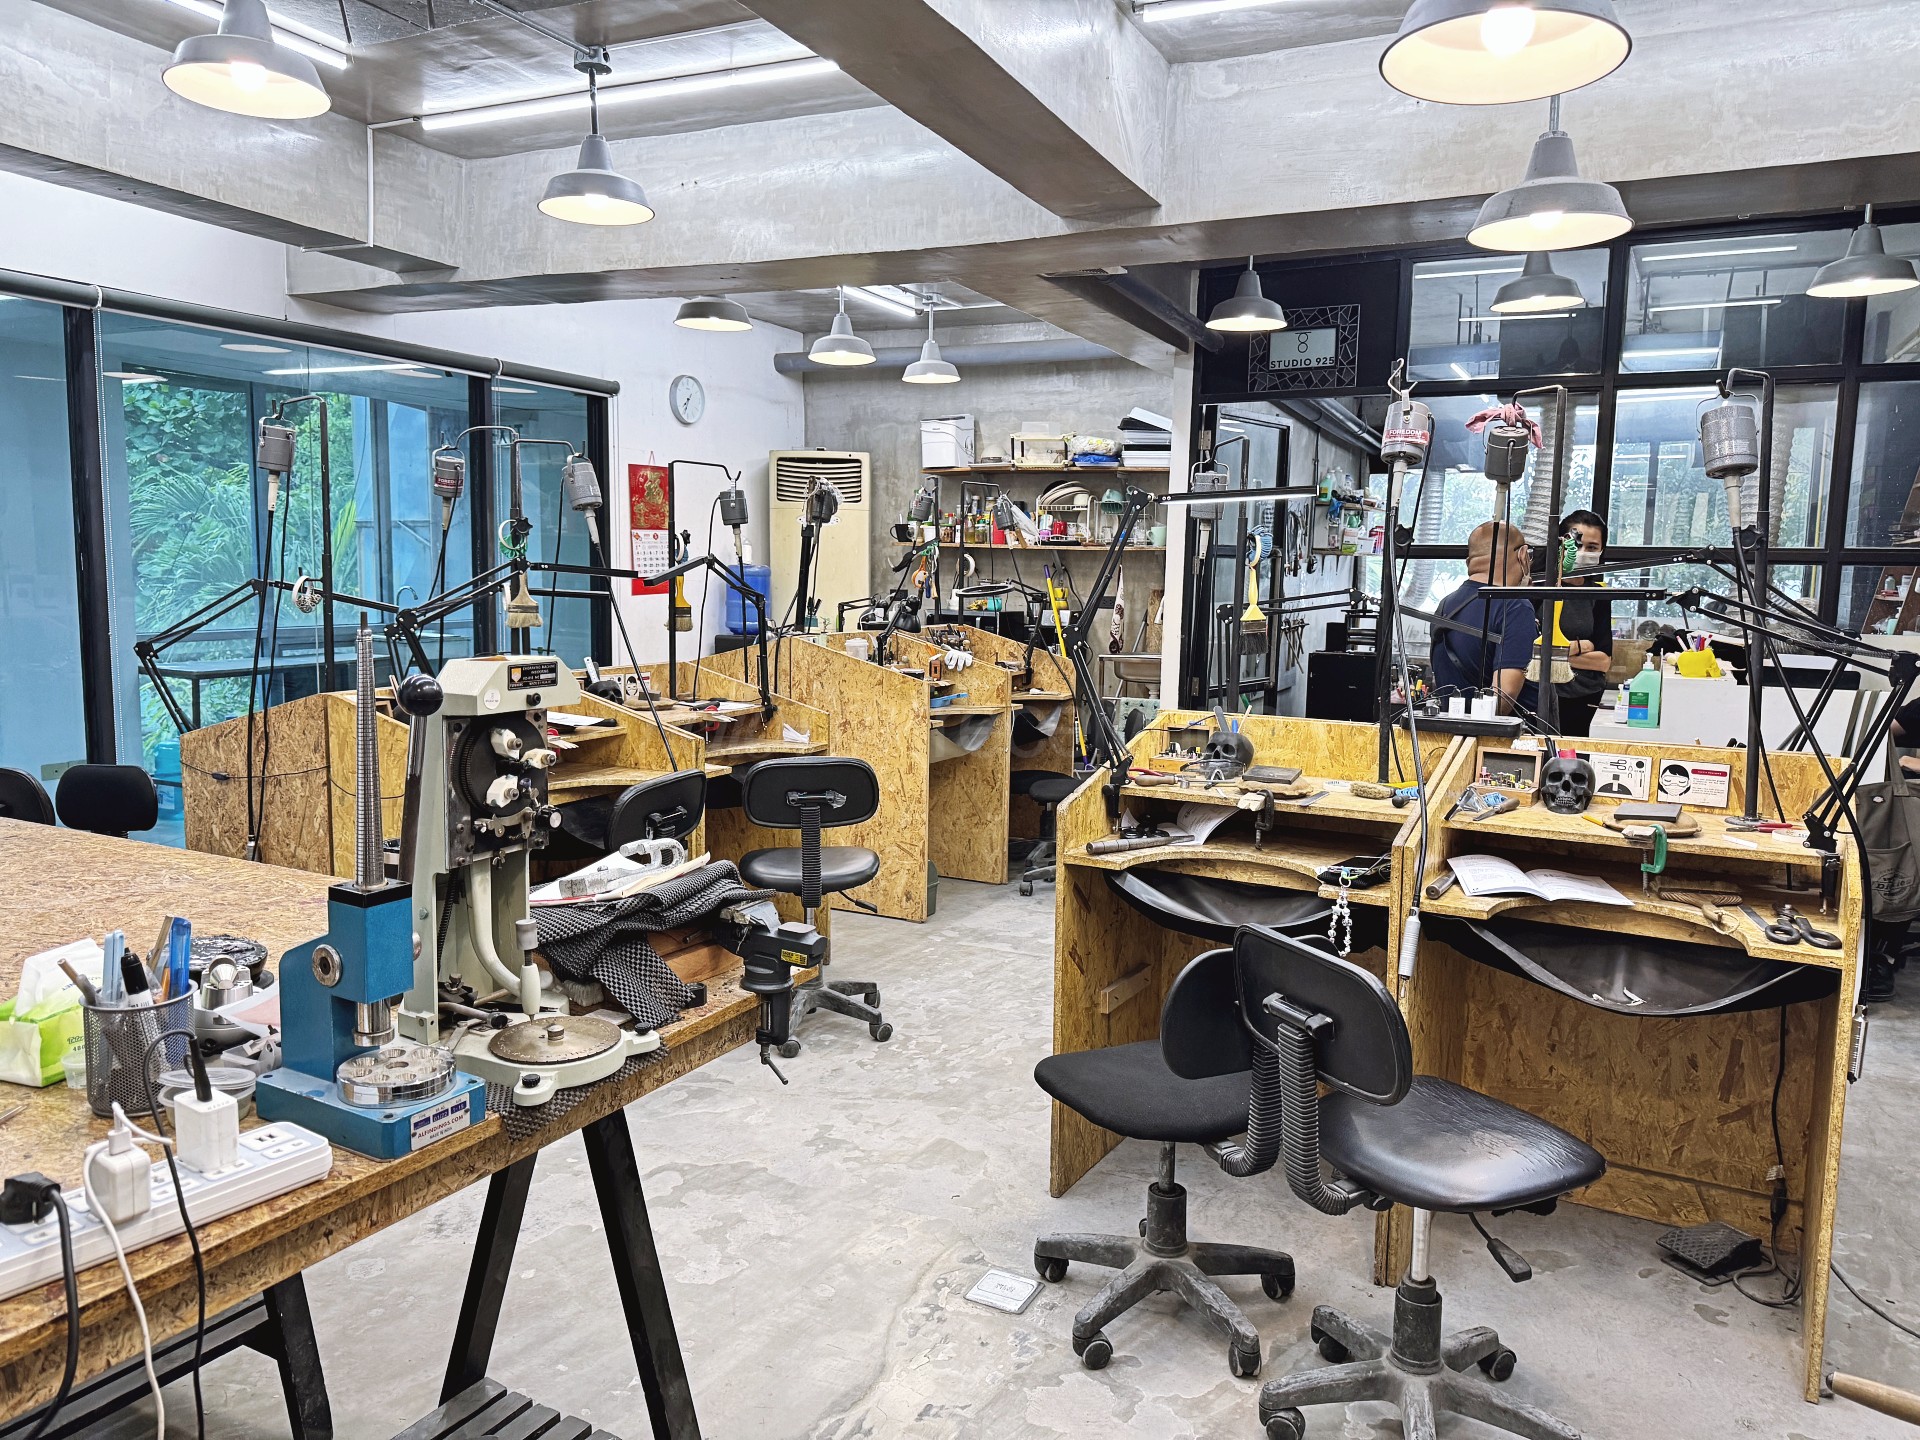
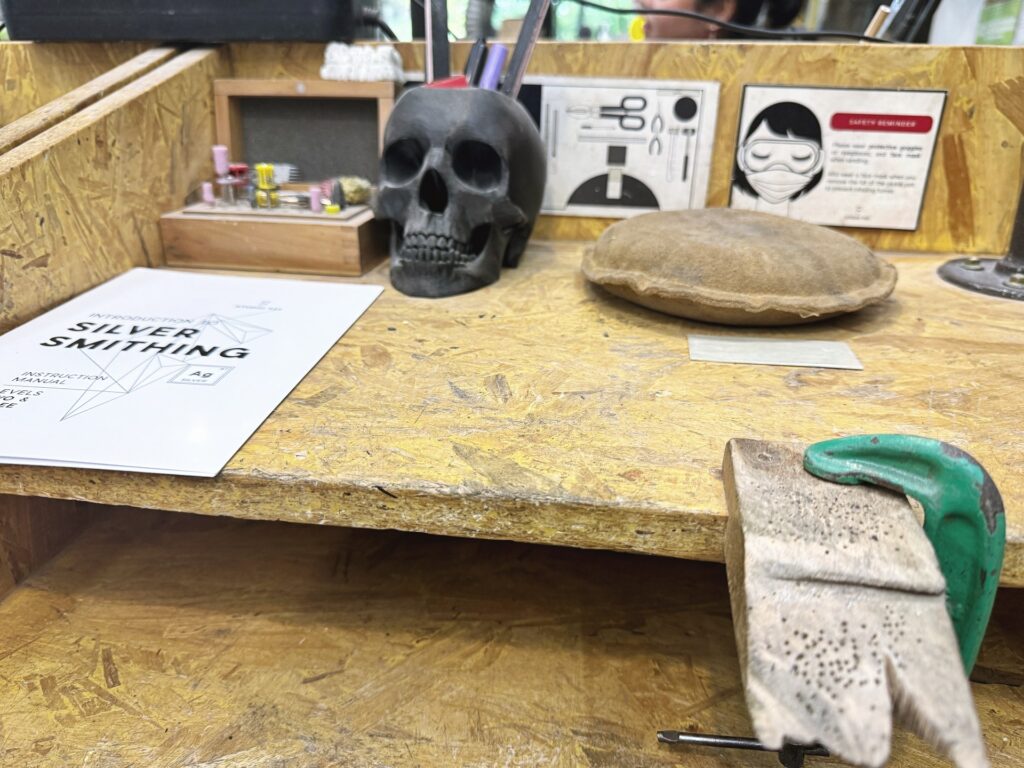
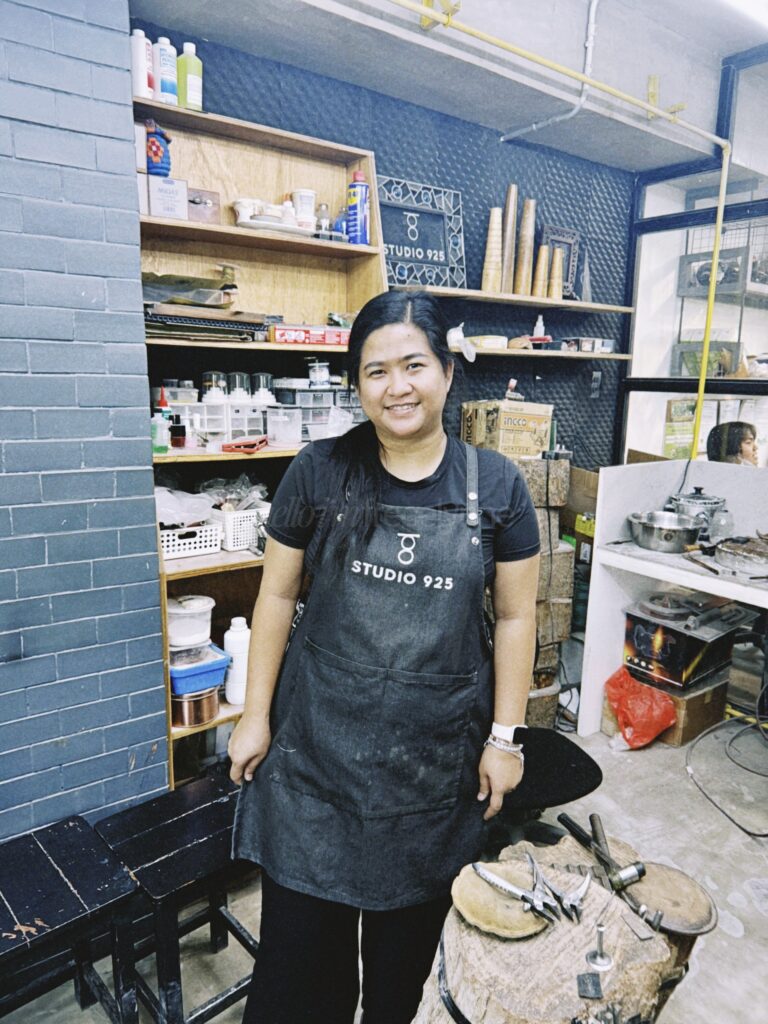
For those based in Metro Manila, there are only two known places to learn silversmithing: Studio 925 and Metal & Gems. TESDA has a program too, but I couldn’t find clear info on where to take it. So I signed up for the Intro to Silversmithing class at Studio 925 in Makati and I ended up enrolling in the full 3-part series. Here’s how it went.
Class 1 – Silver Ring (4 hours)
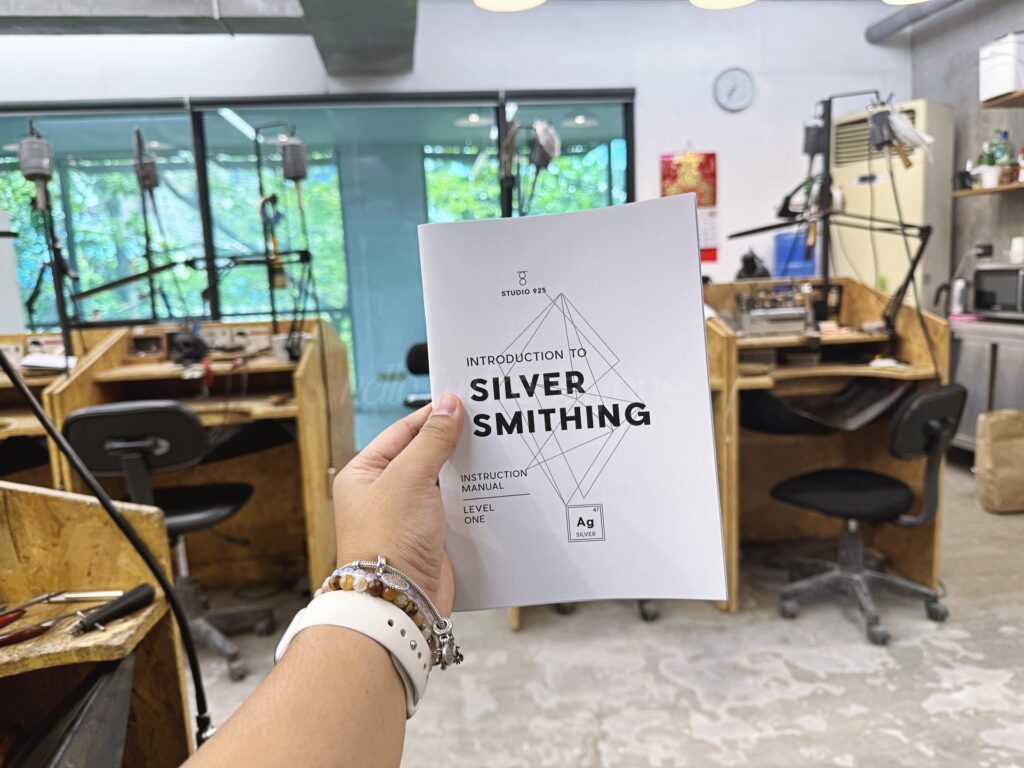
I arrived about 10 minutes before class and was given a printed guide to review. To my surprise, our instructor was Mai from Fake Alchemy, who also happened to be my high school classmate.
We started with an intro: what silversmithing is, the composition of sterling silver vs pure silver, tools, and safety basics. Then we jumped into the project.
Process:
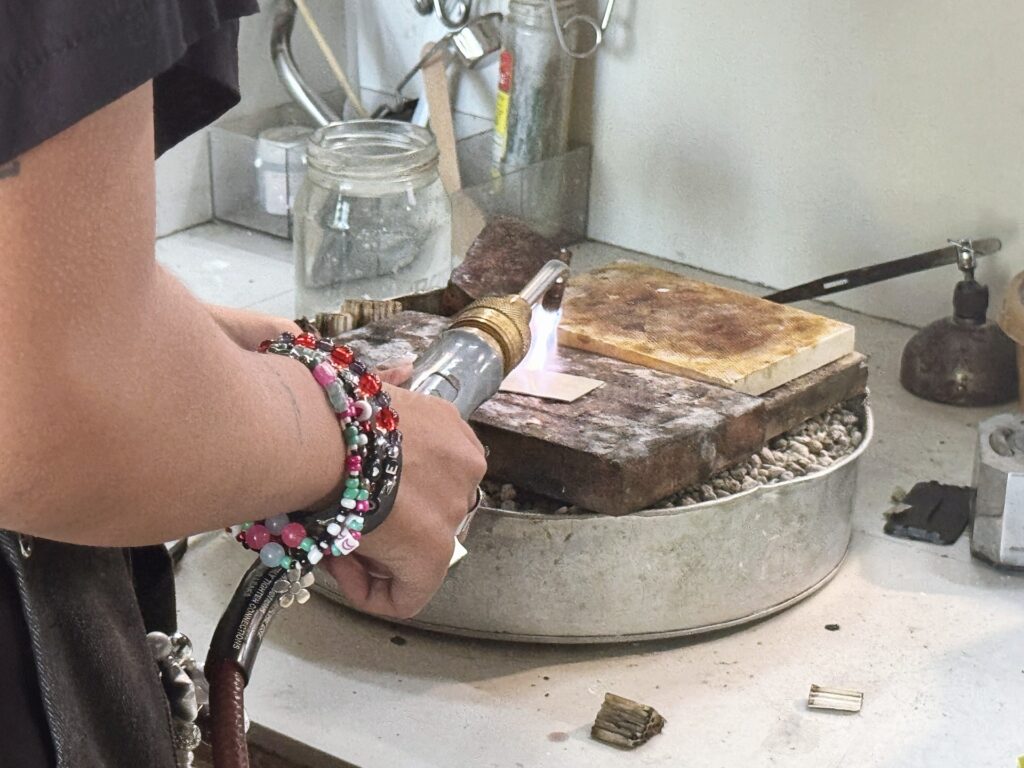
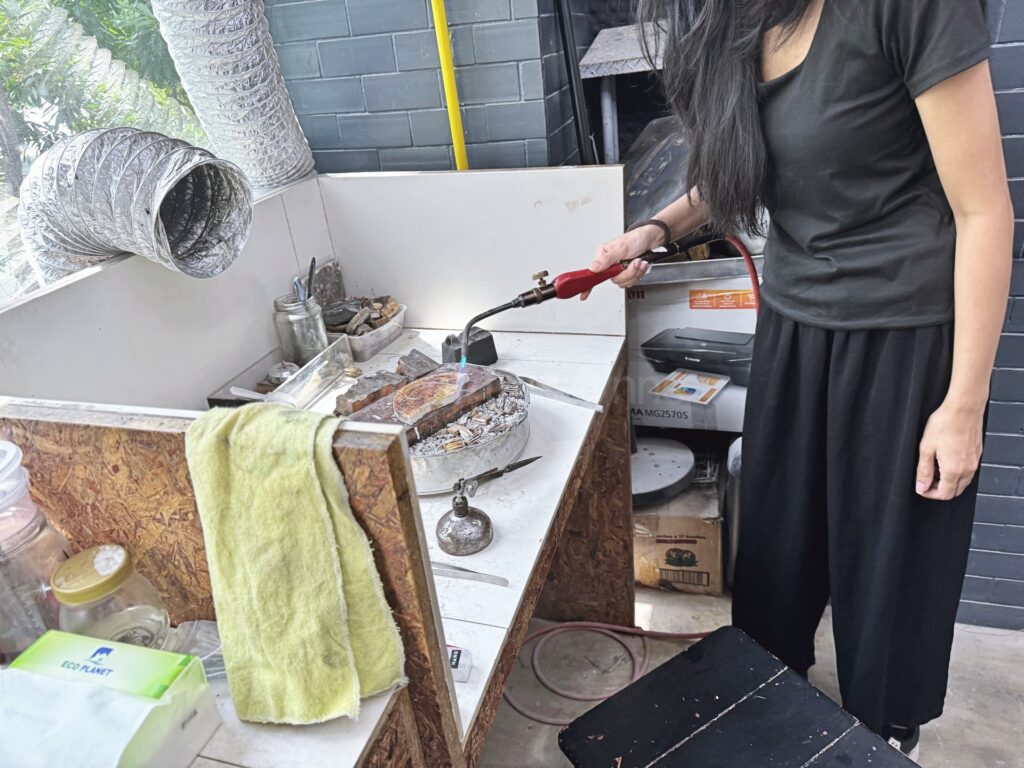
Annealed the silver to soften it
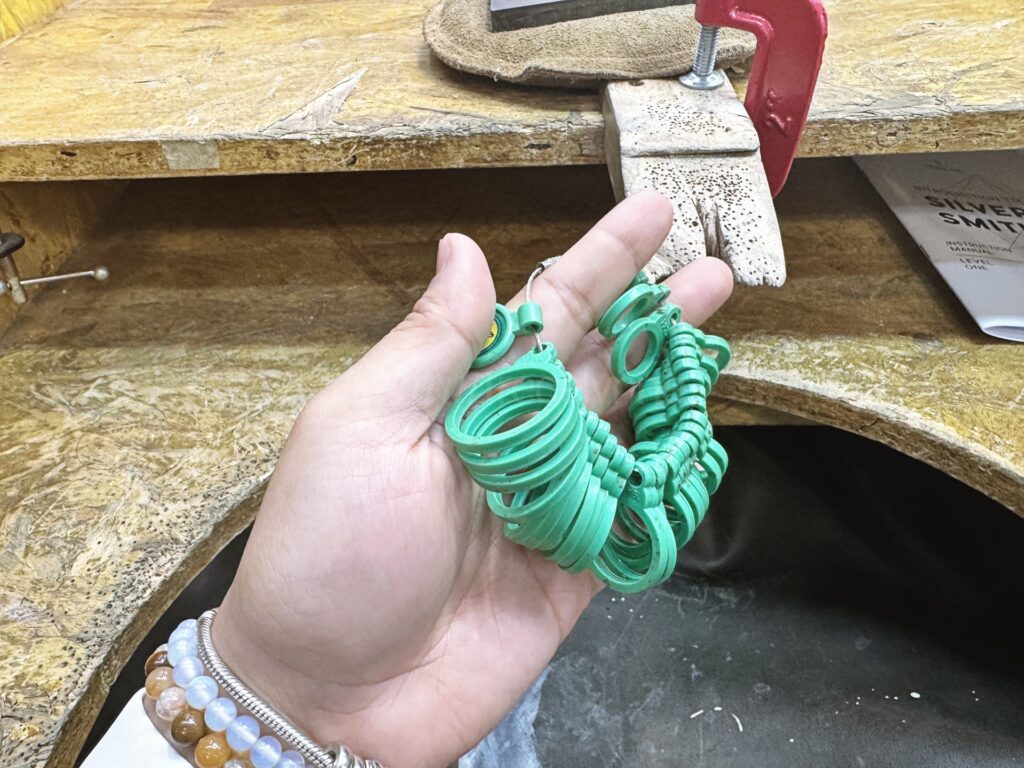
Measured our ring size

Cut the silver sheet (I opted for a plain, straight band)
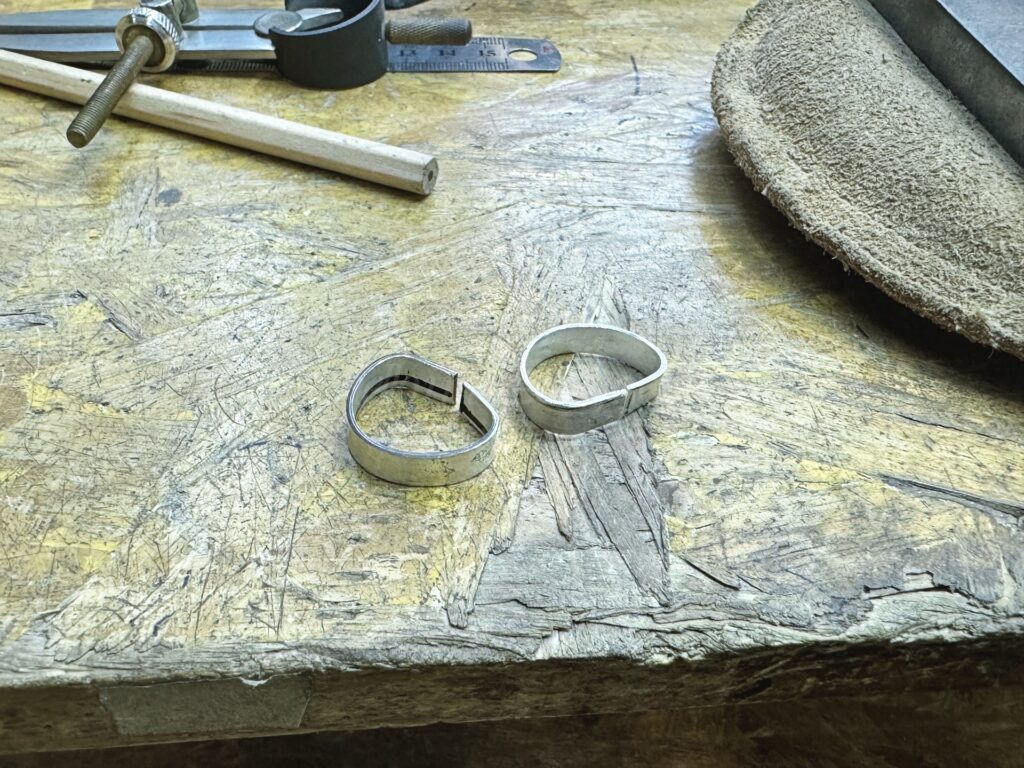
Formed it into a D-shape
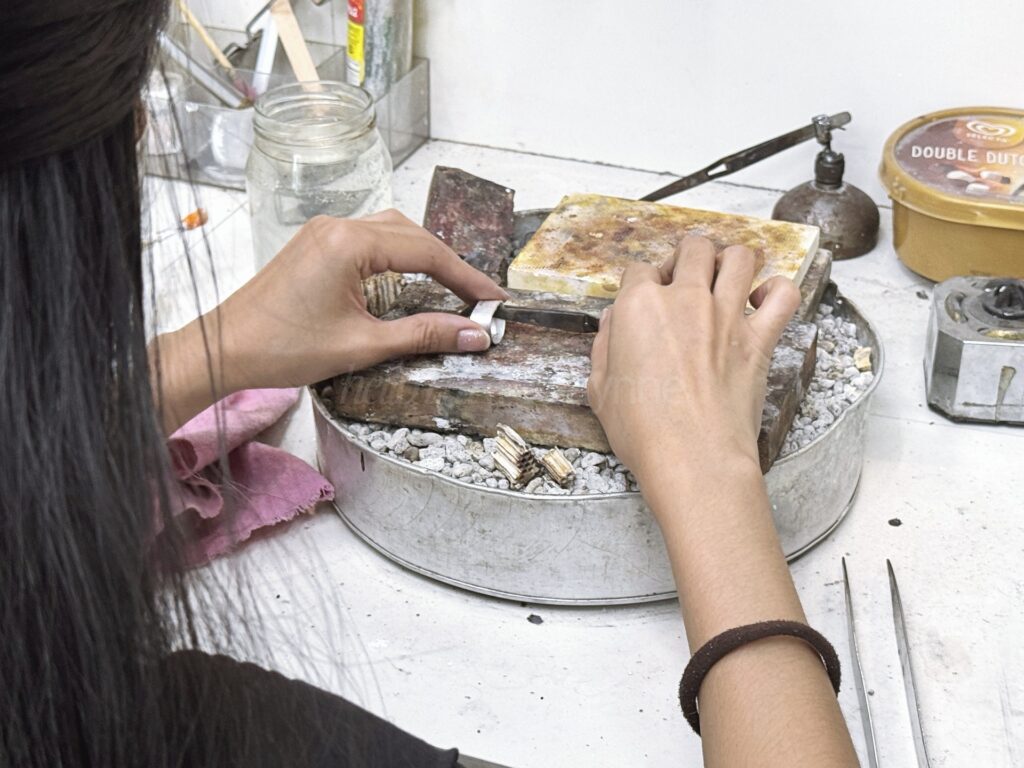
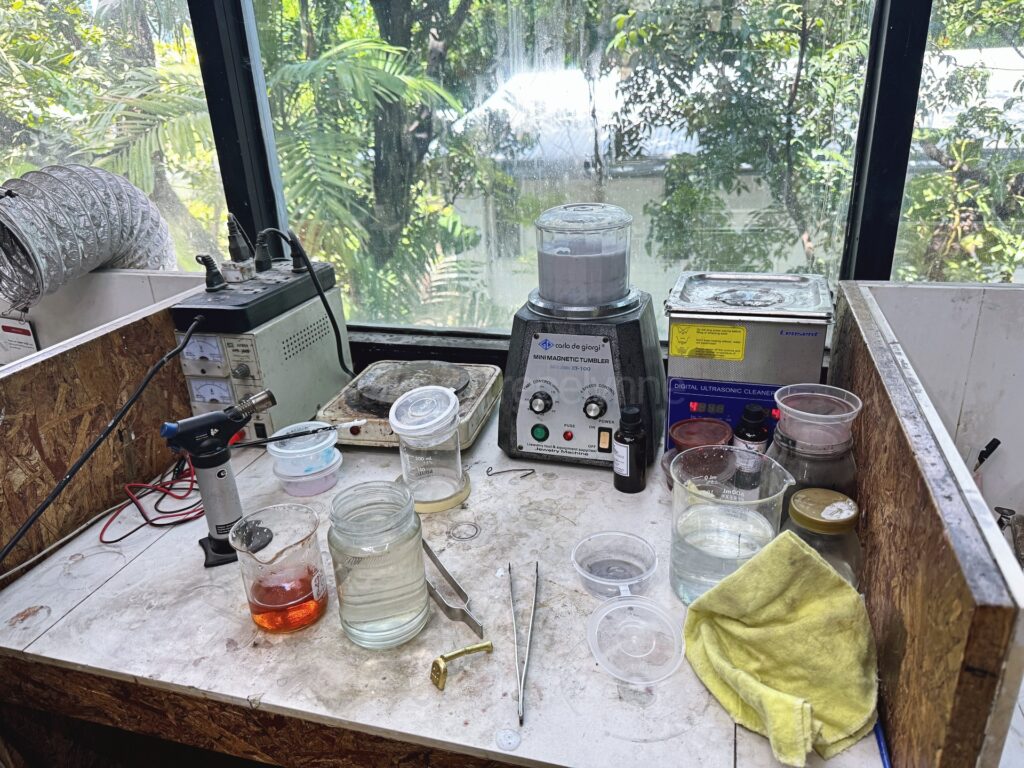
Soldered and pickled the piece
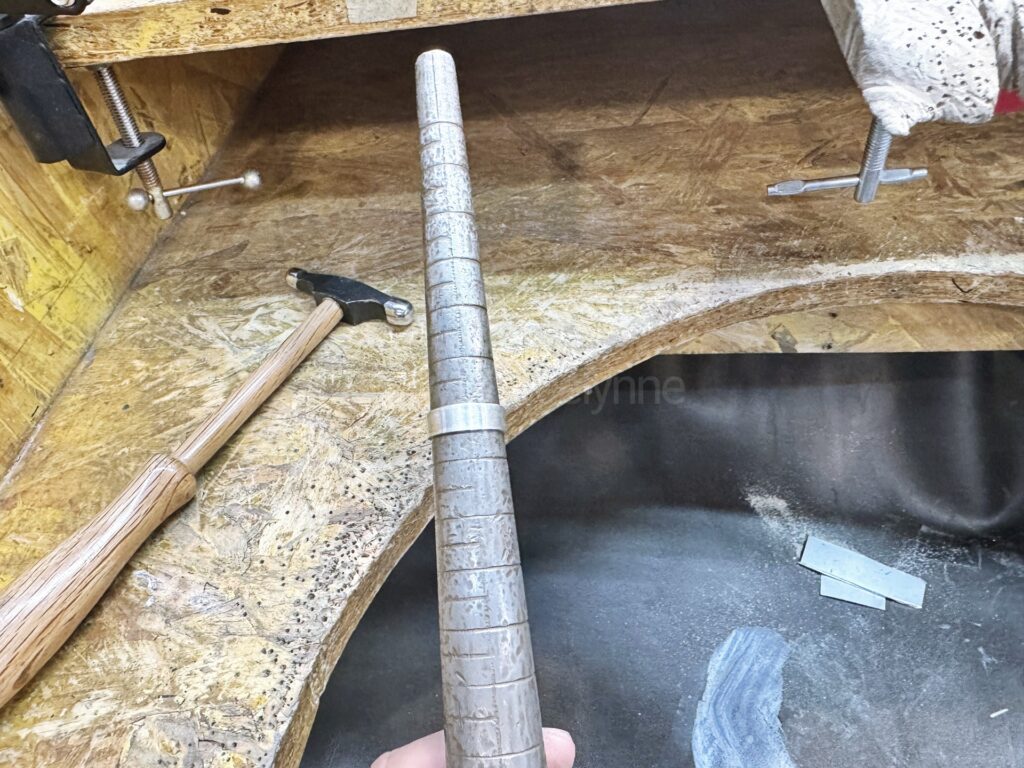
Shaped it, filed it and sanded the edges
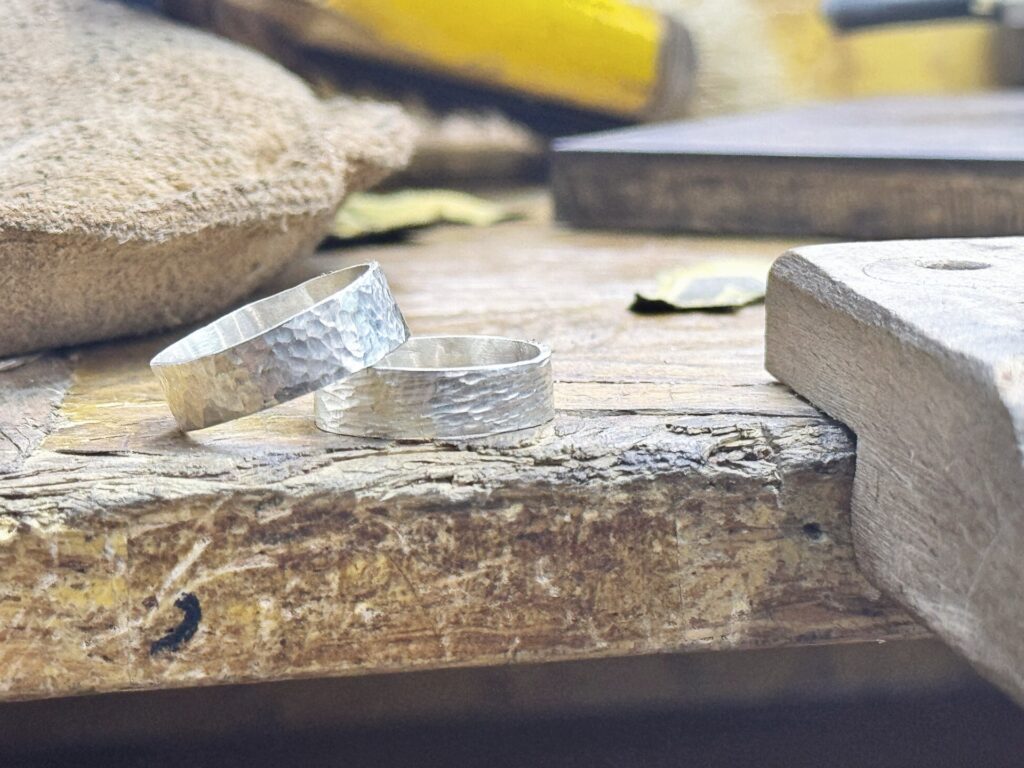
Added texture and final polish
In just 4 hours, I made my first silver ring by hand and I was hooked.
Class 2 – Cabochon Pendant (4 hours)
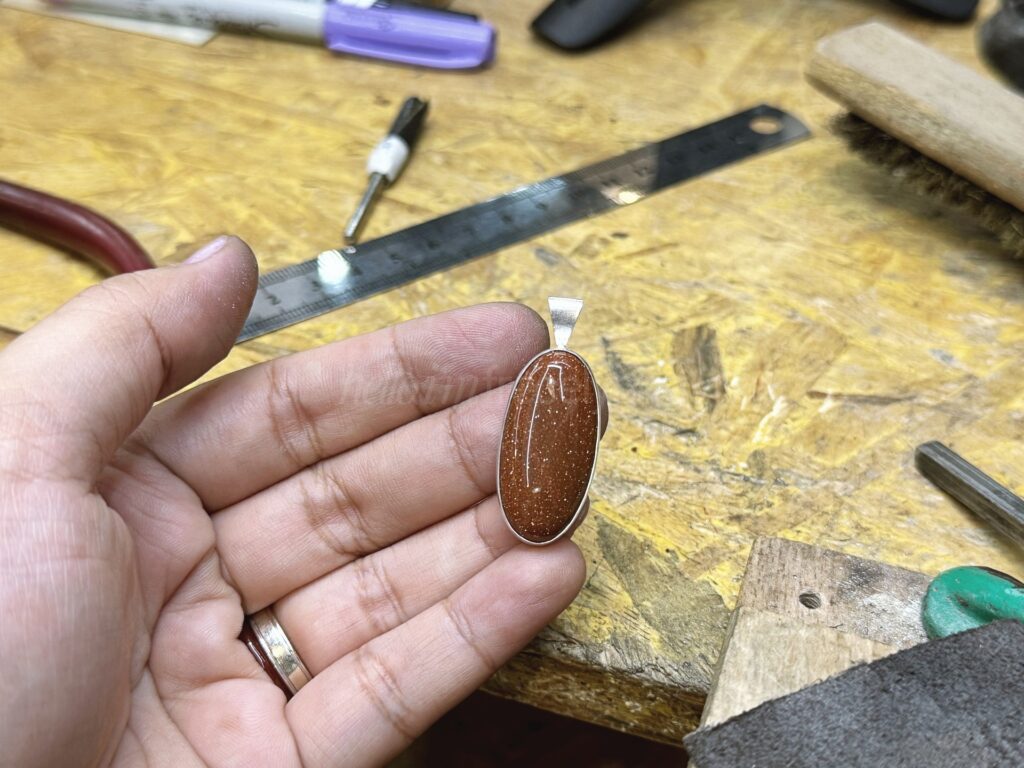
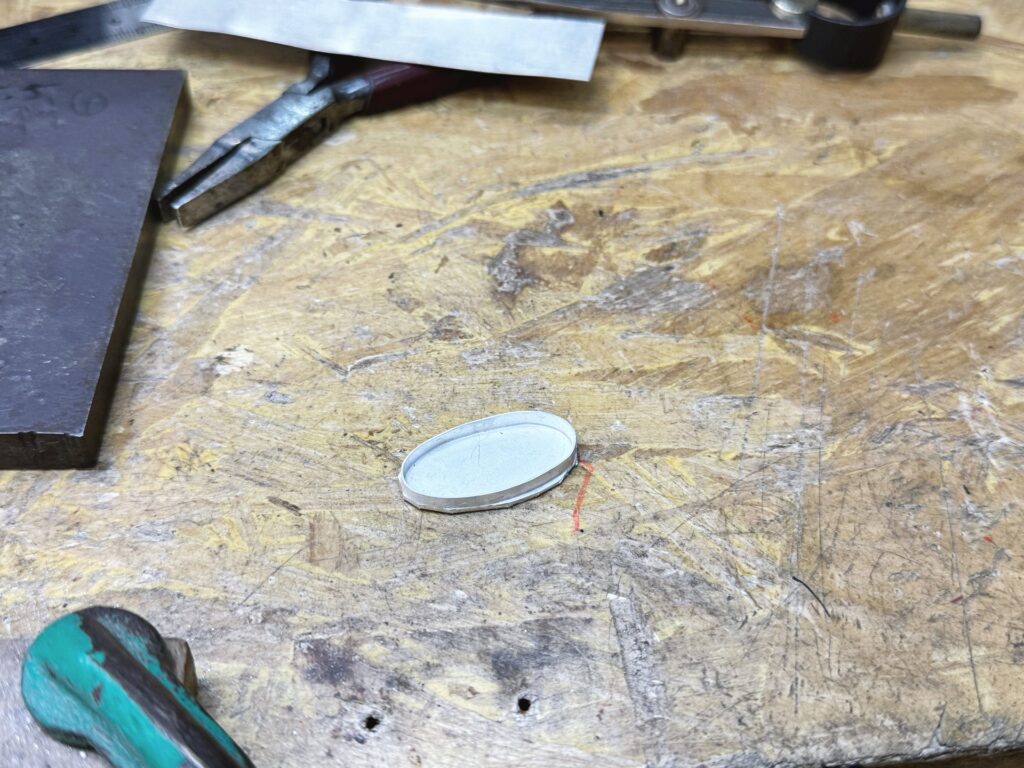
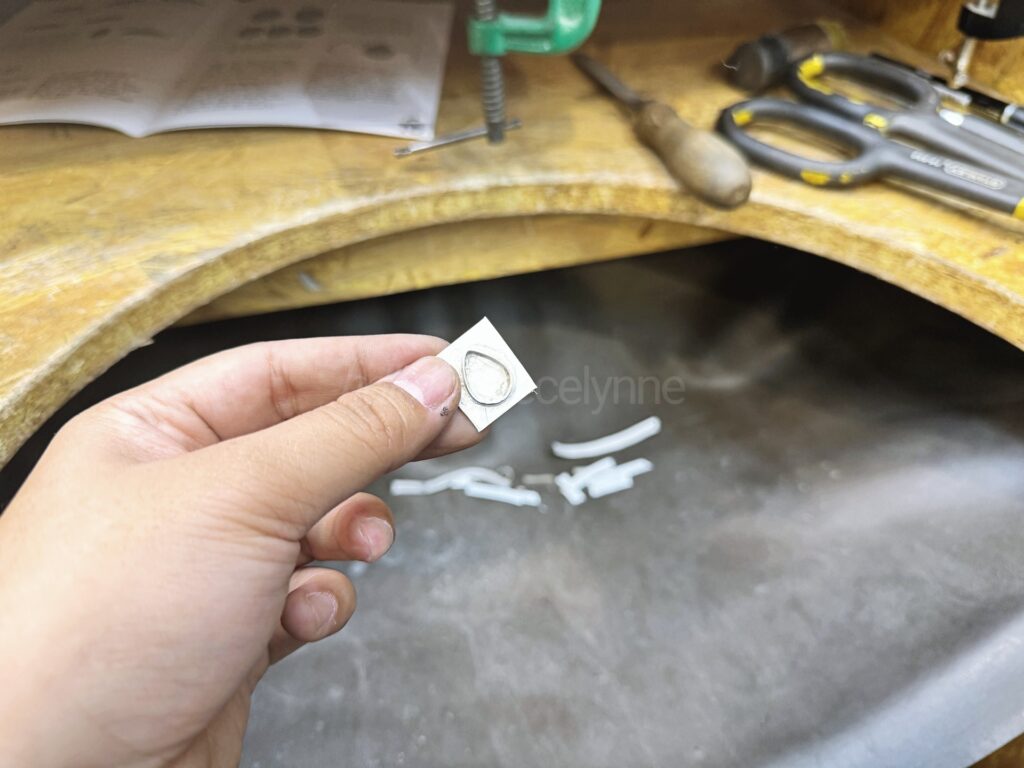
For our second session, the project was a cabochon pendant with a bezel setting. Again, Mai was our instructor. We had a quick recap of tools and techniques, then learned new ones like how to create a bezel wall to fit a cabochon. I chose a goldstone oval cab and began crafting the setting.
Process:
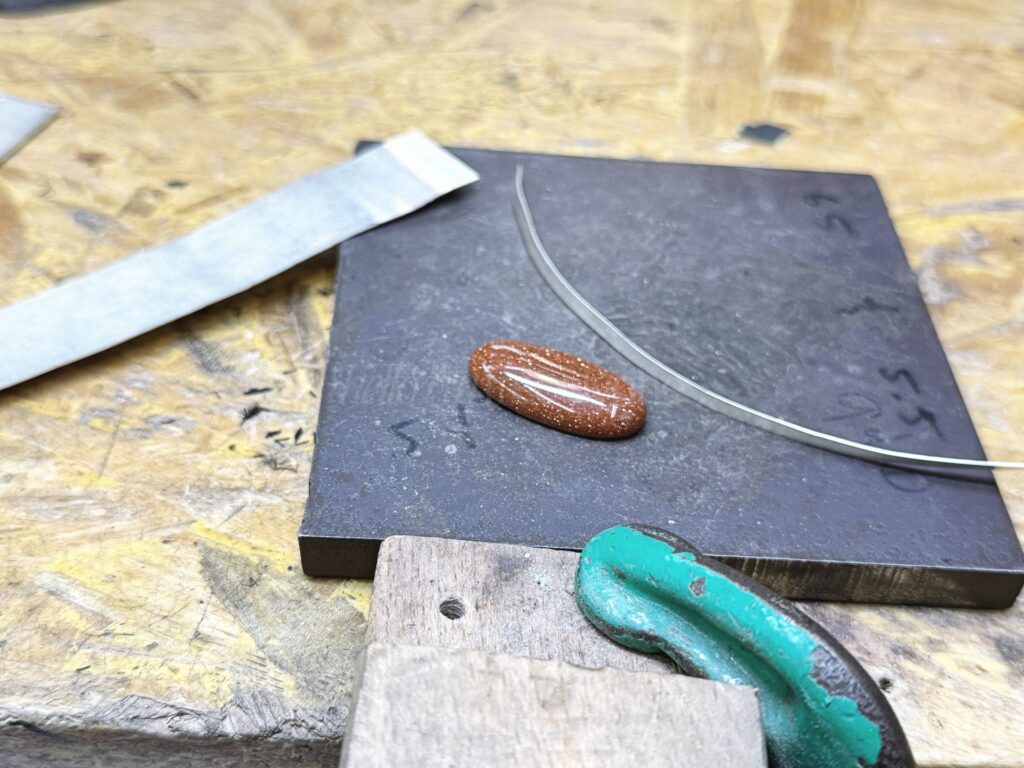
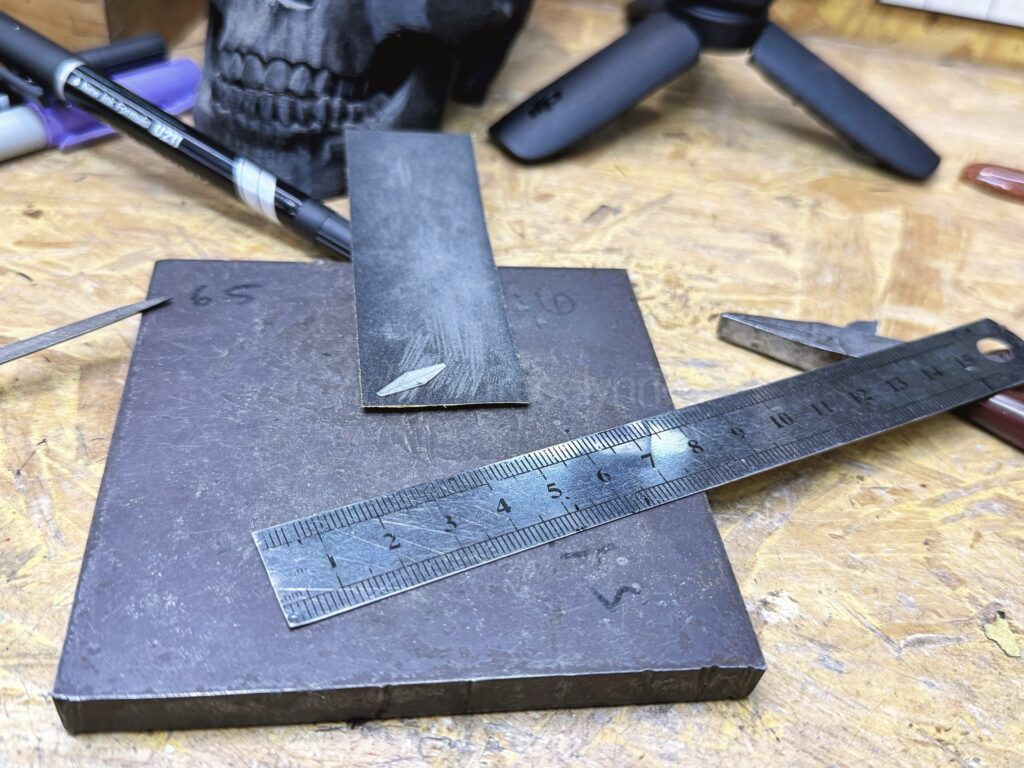
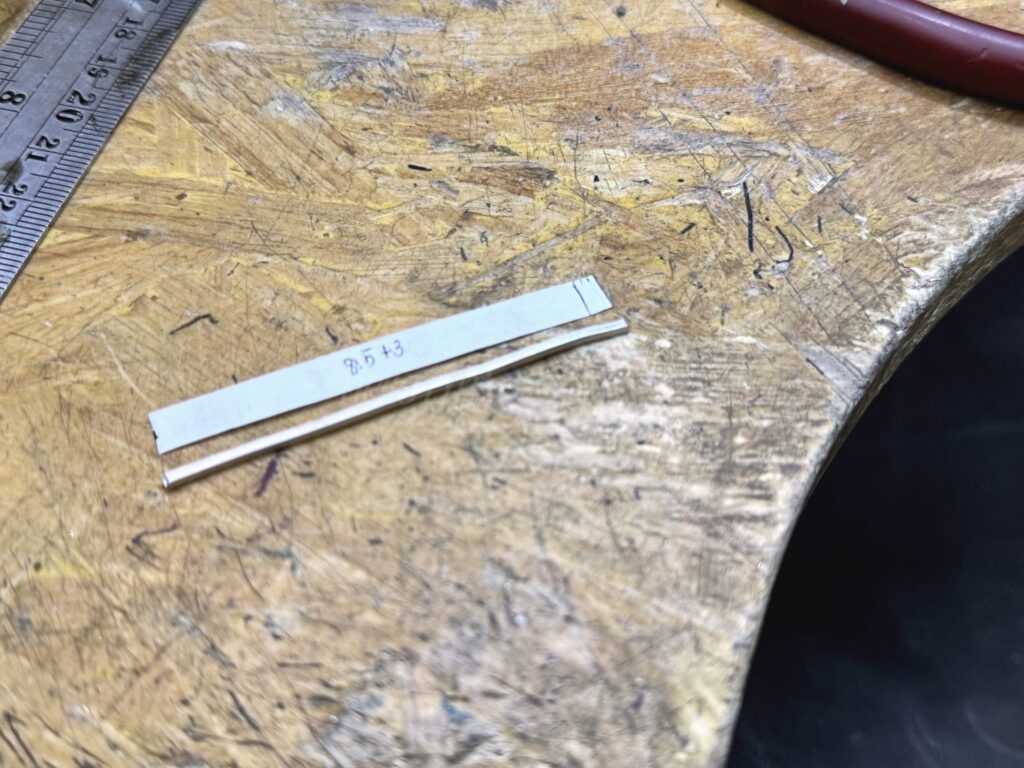
Measured and cut the bezel wall
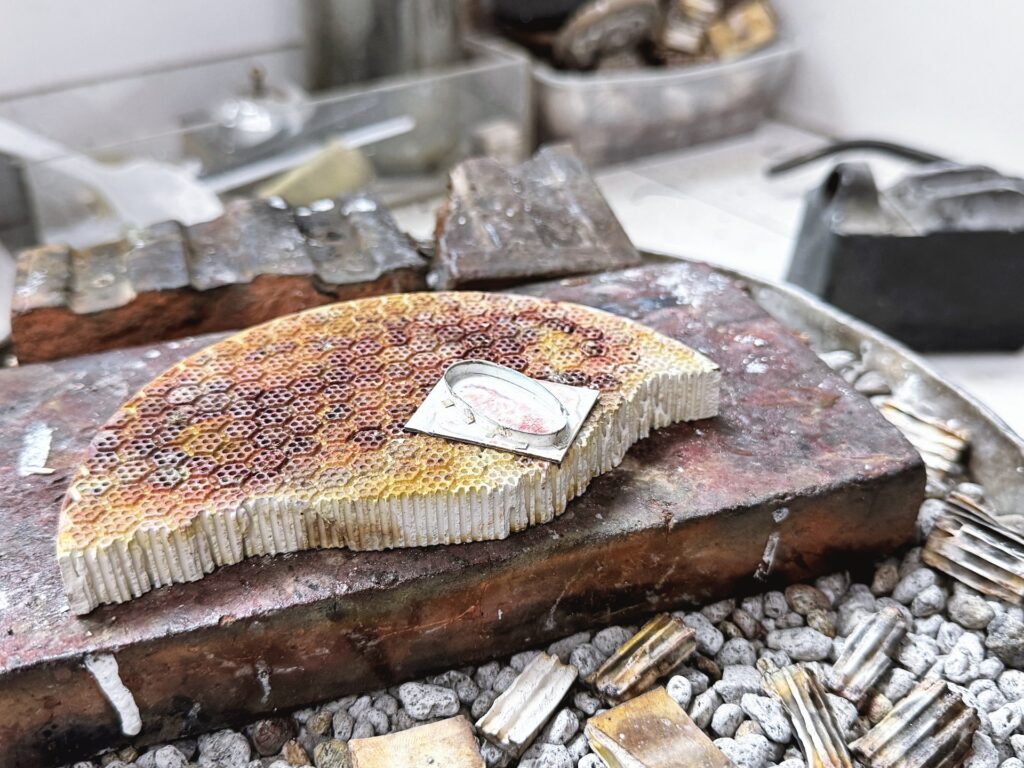
Fit and soldered it
Created a bail (the pendant loop)
Filed and shaped everything
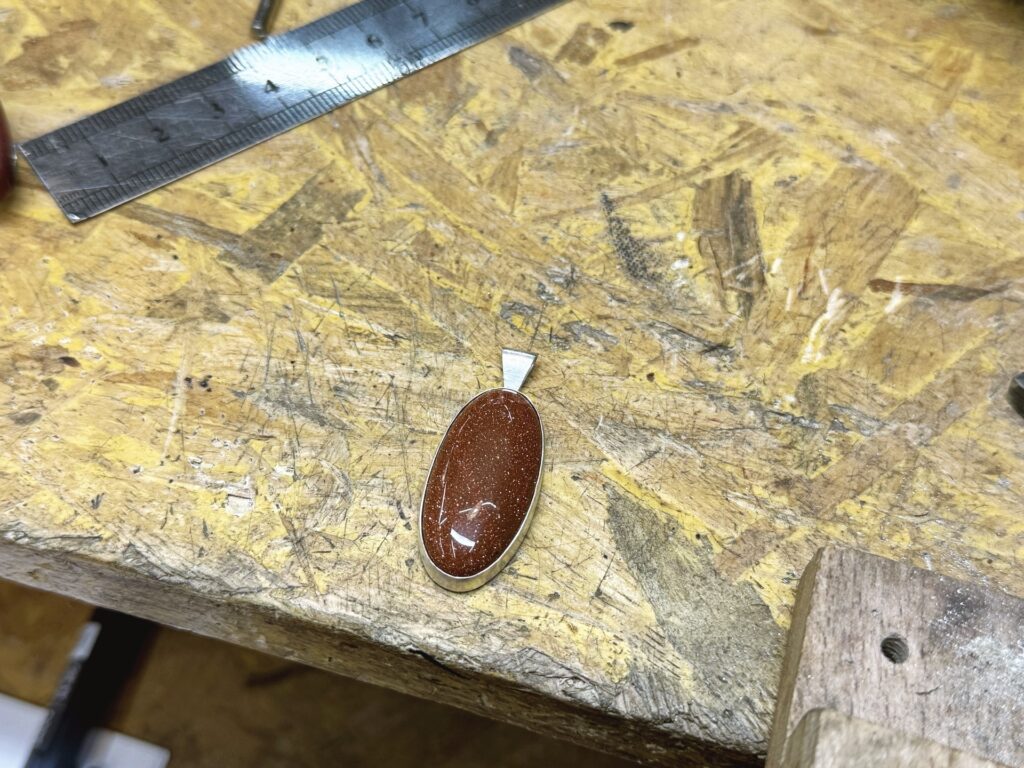
Soldered the bail
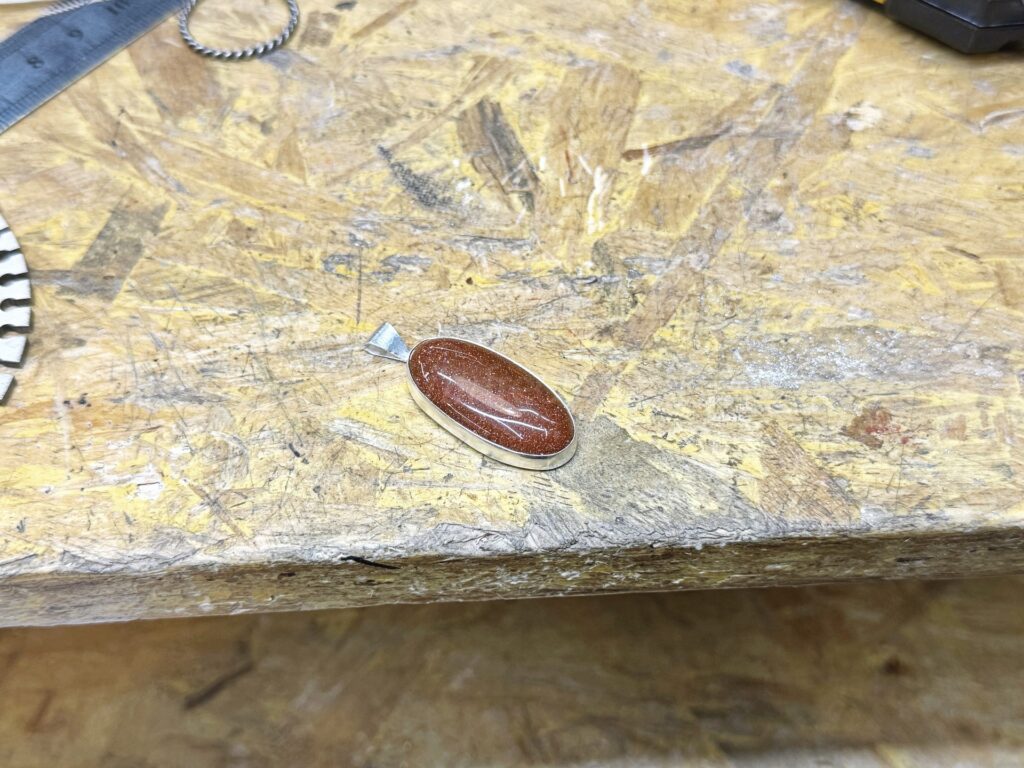
Polished and set the stone
The stone setting was the most satisfying part! Watching the cab click into place after all the careful prep.
Class 3 – Cabochon Ring with Twisted Bands (5+ hours)
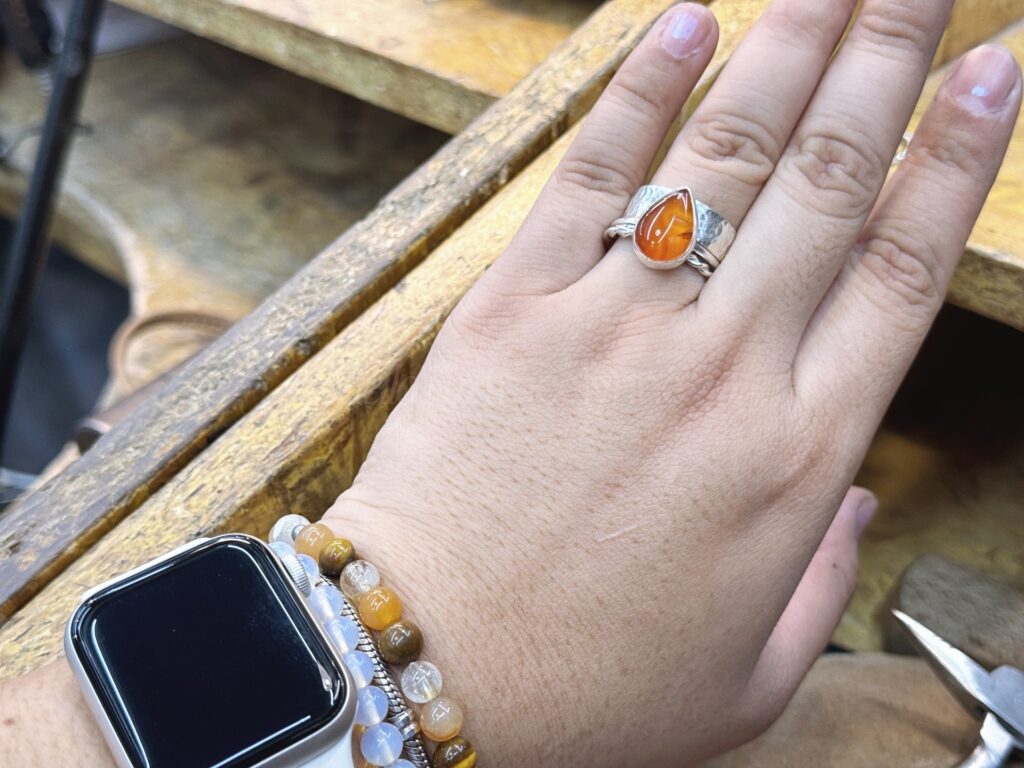
Our final project was a combo of lessons 1 and 2: a cabochon ring and two twist bands for stacking. This time, our instructor was Kris from Thingamabobs.art.jewelry. The ring featured a small carnelian teardrop, and we used silver wire for the band instead of sheet metal. Kris walked us through more advanced techniques, including different soldering and sanding methods.
Process:
Created the bezel setting
Measured and shaped the silver wire

Soldered both pieces separately
Joined the bezel to the band
Filed, sanded, and polished
Set the stone, burnish and final polish
This class lasted over 5 hours. I was so tired by the end but also proud. My hands were sore, but I walked away with a finished ring that I made from scratch.
Taking the silversmithing classes at Studio 925 gave me a solid foundation to start working with precious metals. What I loved most was how hands-on everything was. They don’t just show you; they make you do it. Each mistake becomes a lesson, and the instructors are generous with tips and techniques.
If you’re like me, someone who started with simple handmade pieces and now wants to explore fine jewelry, this is a great way to level up. I’m already planning my next project and looking at how I can eventually add sterling silver pieces to my new collection.
Let me know if you’re thinking of trying it too. I’d love to hear what you end up making!
Leave a Reply